Neil has been pestering me to write an article for the NZRYA web page so here you go.I’m not a professional boat builder, but I like to maintain and repair my boat where I can.
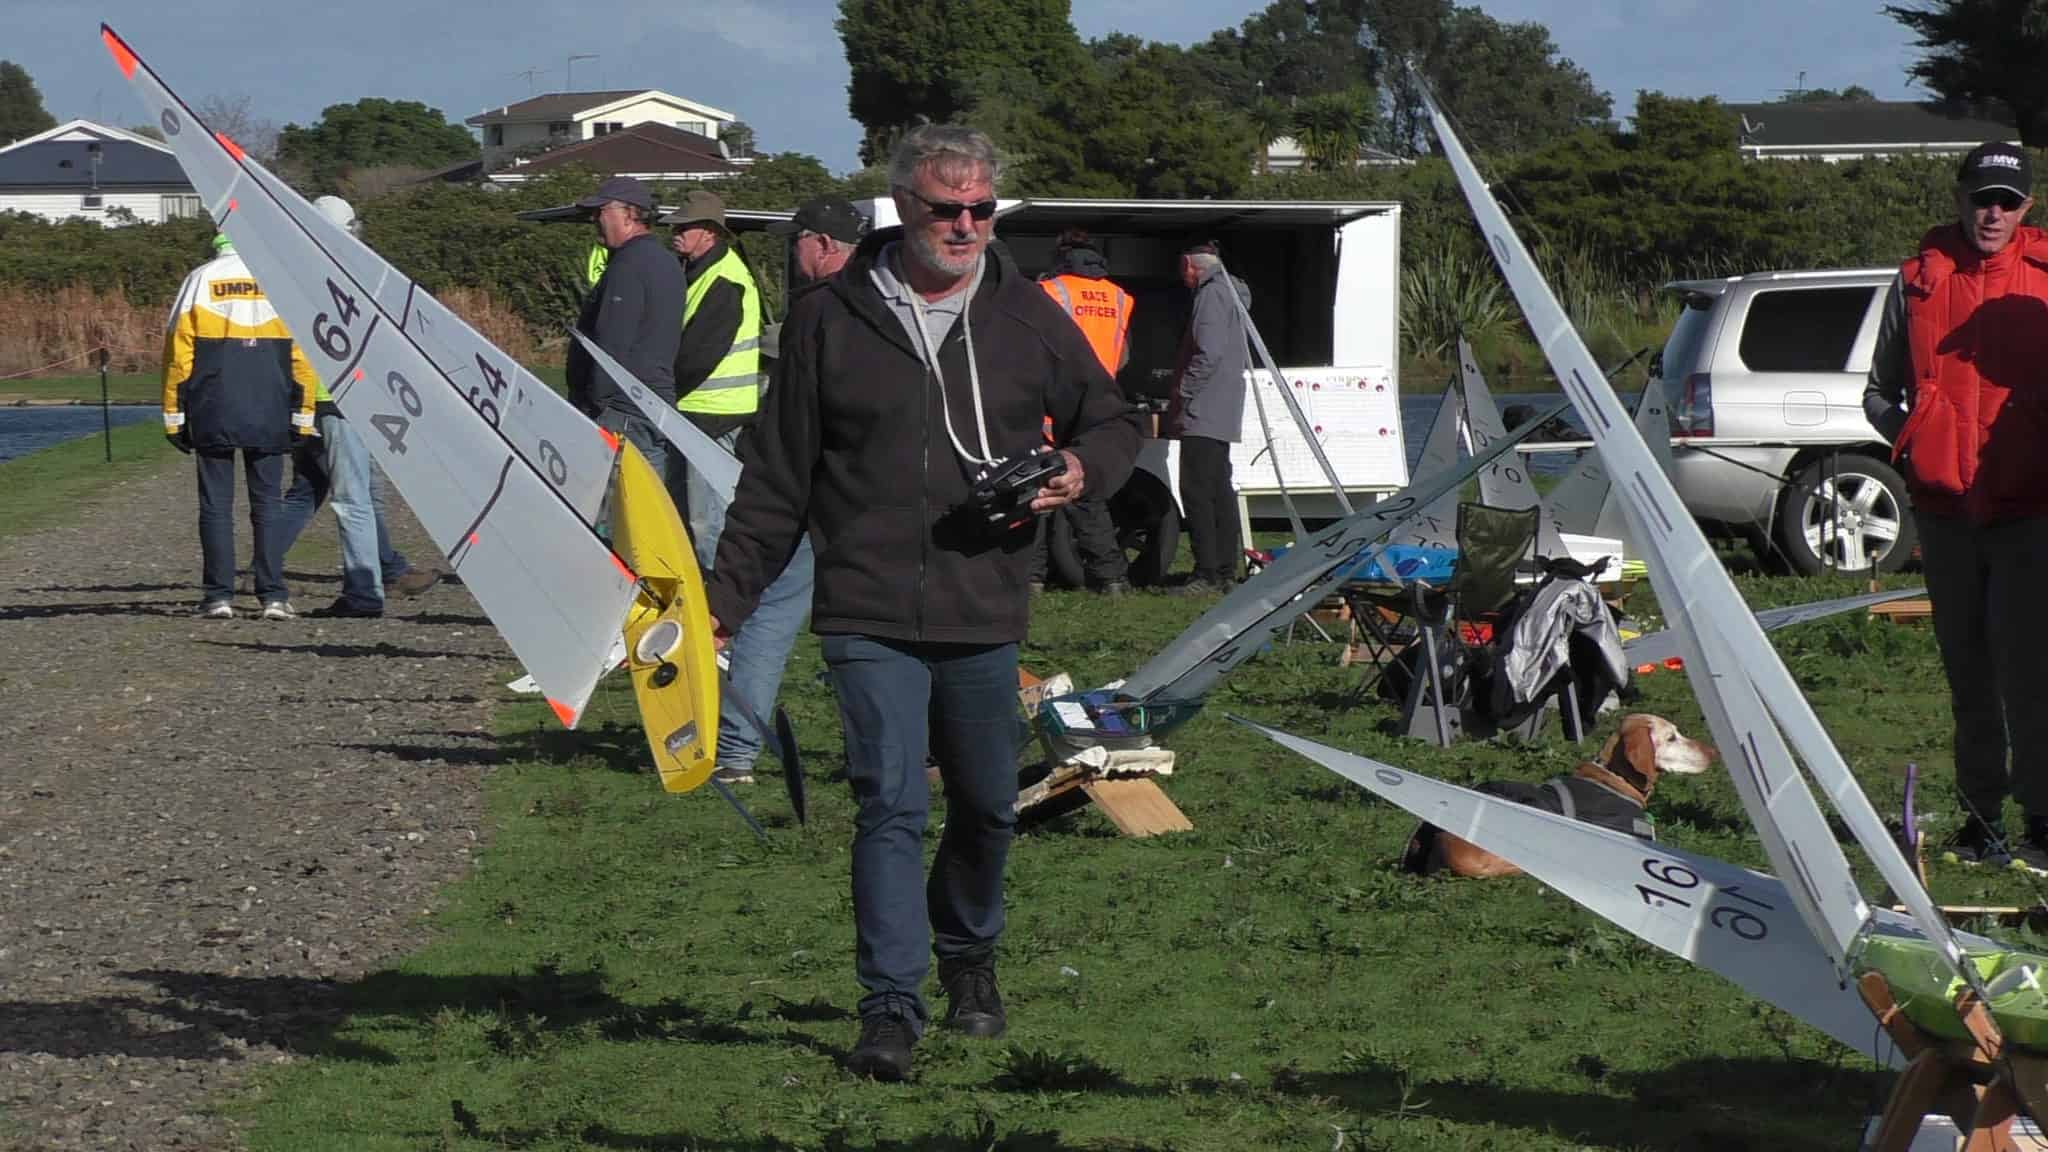
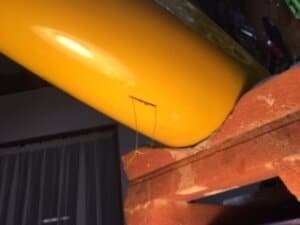
During last week’s IOM North Island Champs I found a 30mm long impact split under the water line in the bow of my IOM. The split had penetrated through the hull which was seriously leaking.The hull is a Vickers V8 and there is no internal access to the area of damage.
The following photos show the process I used to repair the split.
- Using a Dremel cutting wheel cut along the length of the split.
- Cover the cut and surrounds with wide adhesive tape (I used clear tape which you can just see in the photo)
- Lay 3 layers of 125grm cloth and resin over the split area being careful not to get resin on the uncovered area of the hull. (Warning – be very careful of the ratios when mixing small quantities of resin/hardener)
- Once cured and before you lift the patch off the hull, drill two 1mm holes, through the end of the patch immediately above the split.
- Before you release the patch from the hull, sand it to give a good gluing surface.
- Gently remove the patch off the tape and cut it to shape.
- Thread a 300mm long piece of braid through the two holes in the patch and tie it off.
- Apply epoxy glue to the correct side of the patch.

The adhesive tape is still on the hull.
- Carefully cut away just enough of the adhesive tape to pass the glue loaded patch through the cut into the hull. Don’t lose the braid through the cut.
- Carefully pull the patch up so the glued side of the patch makes contact with the inside of the hull – the braid will ensure the patch sits in the right place.
- If necessary you can add a little more glue so the glue fills the cut void.
- Turn the hull right side up to allow gravity to do its thing whilst the glue goes off.
- Cut the braid and gently pull it out without dislodging the patch.
- Check to see the braid holes have closed over with glue, if not put some glue on your finger and carefully smear the glue over the holes.
- Remember the adhesive tape is still there.
- Once the glue has gone off, use a Dremel with a sandpaper disc to remove the bulk of the excess hardened glue – be careful to stop just before you hit the adhesive tape. If you don’t have a Dremel – use a file.
- With the bulk of the glue removed by the Dremel, use a fine tooth file and very carefully file the remaining excess glue away to the point that you start going through the adhesive tape.
- Now remove the adhesive tape (you might need some meths – for the boat not to drink!) and carefully continue with your fine tooth file until you have faired the repair to the shape of the hull – hopefully without taking any paint off the hull.
- You might like to use a mild cutting compound over the area if you have scuffed the paint surface.
- Repair completed and you’re back on the water.
Cheers
NZL64